How to install Hardie® Architectural Panels
Hardie® Architectural Panels offer contemporary design solutions to fit any home style, with nature-inspired, non-wood look textures that elevate the traditional look of stucco and help make a project stand out.
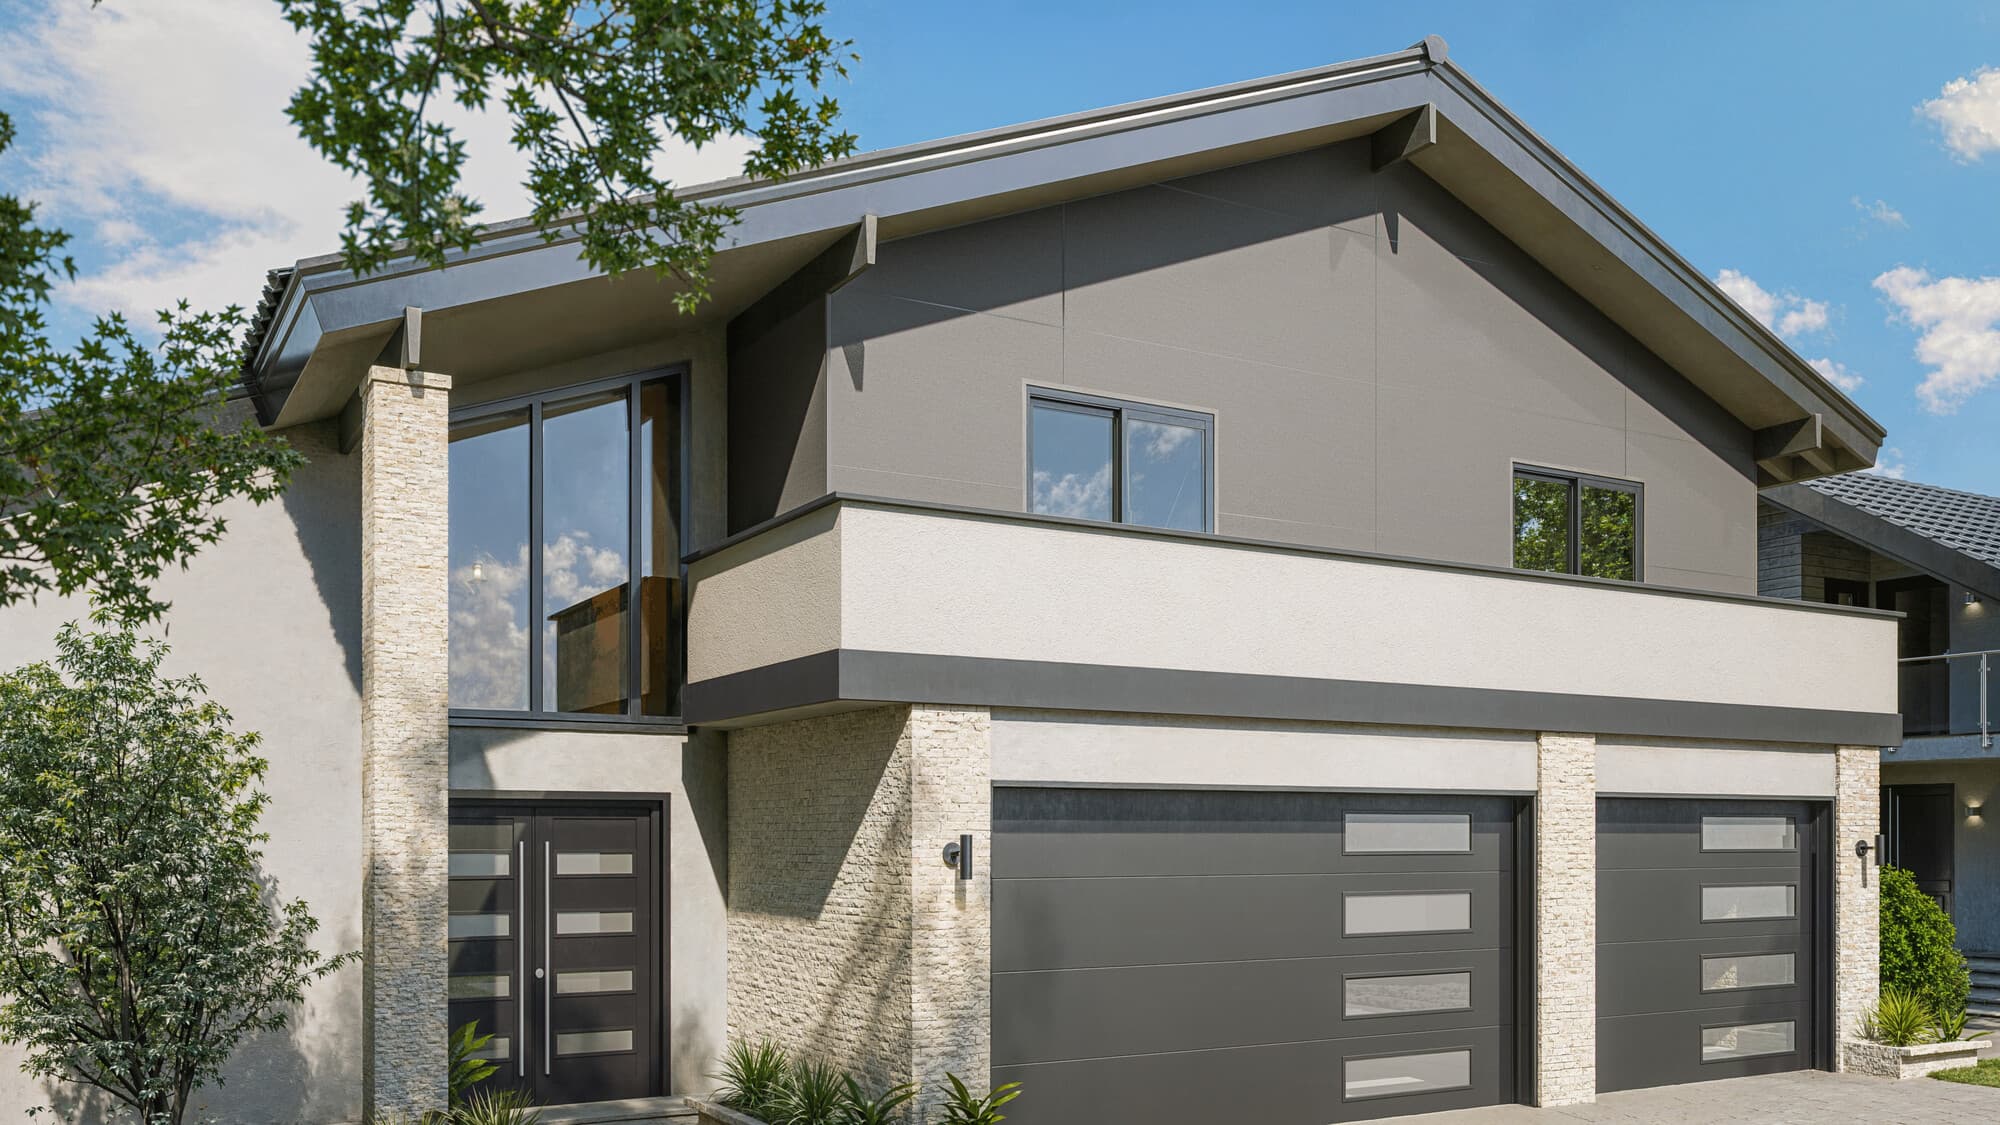
Whether you’re using it to side an entire house or just as an accent wall, here are the general instructions you will need to install Hardie® Architectural Panels. For more detailed instructions, including how to determine clearance and flashing requirements, or the window-installation methods, please refer to the Hardie® Architectural Panel Installation Instructions.
To get started, you will need these tools to install your Hardie® Architectural Panels:
- Caulk Gun & Sealant
- Caulk Line Reel
- Tape Measure
- Utility Knife
- Hammer
- EPDM Adhesive Tape
- Snips
- Level
- Track or Circular Saw connected to a Vacuum with a Hardie™ Blade for cutting fiber cement products
- Miter Saw with non-ferrous blade for cutting metal trims
- 16-Gauge Straight Finish Nailer with Inline Regulator
- 16-Gauge Stainless Steel Finish Nails
PREPARATION
Planning and layout are critical to the finished aesthetic of the Hardie® Architectural Panel. Before installing the first panel, you must plan and agree on the joint layout. Panels can be installed horizontally or vertically for flexible design options.

A V-Groove look can be achieved by placing Y trim at vertical panel joints.
When deciding on the location of panel joint layout, be sure to consider the following:
- Installation requirements
- Clearances
- Floor break (panels cannot be placed across floors)
- Framing, sheathing, and fastener attachment
- If the alignment will be centered on key features (ex. windows, doors, etc.)
- If the alignment will be centered on the structure (ex. walls, gables, etc.)
PANEL INSTALLATION PROCESS - VERTICAL ORIENTATION
When installing Hardie® Architectural Panel in the vertical orientation, install the vertical Y, T, or H trim at all vertical panel joints to meet moisture management requirements.
- Ensure framing is level, square and plumb.
- Install Hardie™ Weather Barrier or code approved weather resistive barrier per code/installation requirements.

- Begin at an inside corner. Use finish nails to install and fasten inside corner trim(s). DO NOT USE BUTTON HEAD SCREWS.
- Install the first panel so the panel edge aligns over center of stud. Please refer to the Hardie® Architectural Panel Technical Data Sheet for fastening options.
- Panels may need to be cut where panel meets inside corner to accommodate this.
- Insert panel into corner trim.
- Fasten panel at each stud fastened every 4 in. o.c. using straight 16 ga. stainless steel finish nails x min. 1 1/2 in. length.

- Install vertical trim.
- Continue installing panels across the wall toward the outside corner.
- Slide outside corner trim behind panel prior to fastening last row of nails.

PANEL INSTALLATION PROCESS - HORIZONTAL ORIENTATION
- Ensure framing is level, square and plumb.
- Install drainage wrap per manufacturer’s instructions.
- Begin at an inside corner. Use finish nails to install and fasten inside corner trim(s). DO NOT USE BUTTON HEAD SCREWS.
- Insert panel into corner trim.
- Fasten panel at each stud fastened every 4 in o.c. using straight 16 ga. stainless steel finish nails x min. 1 1/2 in. length
- Install vertical trim.
- Continue installing panels across the wall toward the outside corner.
- Install horizontal z-flashing and panel along horizontal control joints a minimum 1/4 in. above horizontal trim.

- Slide outside corner trim behind panel prior to fastening last row of nails.
FASTENING TIPS:
Nails should be driven flush or proud. For proud nails, be sure to tap them flush immediately with a smooth face hammer
Do Not over drive fasteners. This is because holes may appear after painting, which will increase the need for patching & touch-ups.

Delay nailing off final row of nails at corner panel. This will allow you to make any adjustments that may be needed to accommodate panels or trims. Once made, then you can complete nailing.
CUT EDGE TREATMENT
It’s important to caulk, paint, or prime all field cut edges for proper moisture management and to provide a clean surface to paint.

Nails should be installed the same as described above. Touch-up fasteners as needed using the touch applicator brush.
For more detailed information on installation, please refer to the Hardie® Architectural Panel siding best installation practices guide, which you should keep for reference on every job.