From the Ground Up: Best Practices for home construction that resists moisture damage
Discover best practices for installing to grade, along walls, and around rooflines using Hardie® products. Implementing these practices will help ensure your installs are designed with superior water management to last overtime.
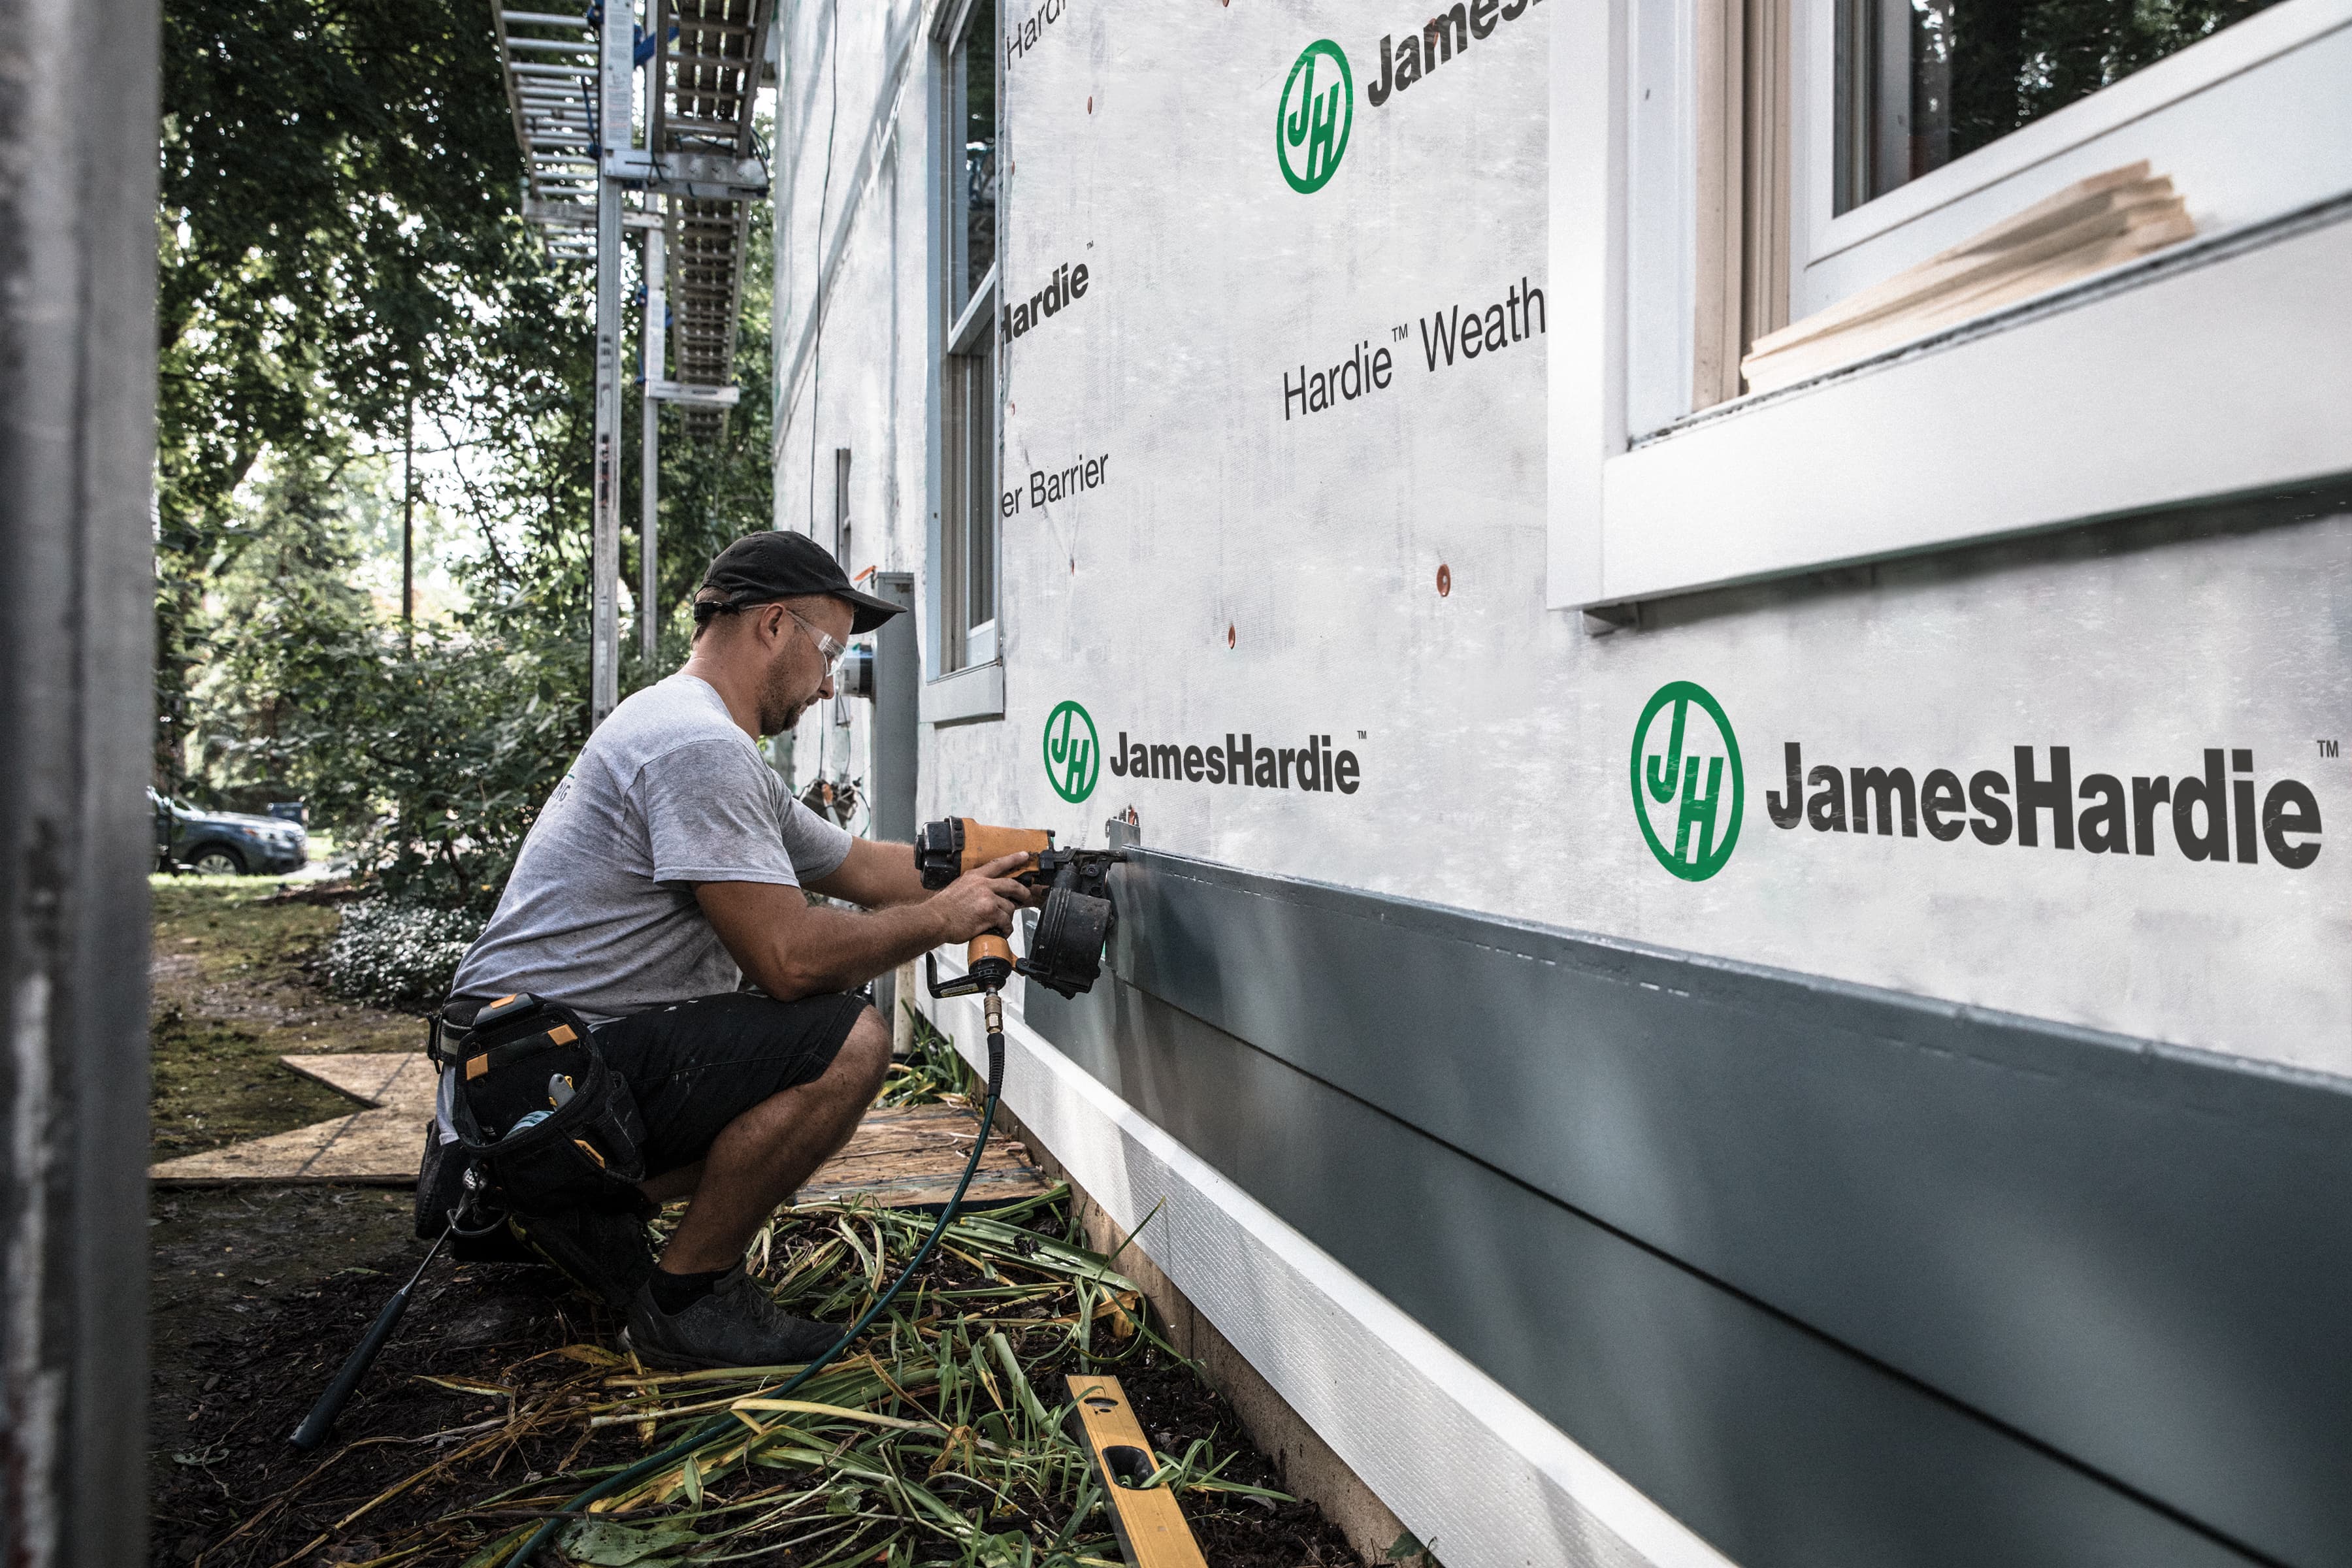
As the re-side season begins and new construction ramps up, it may be time for a refresh on essential installation practices for Hardie® products, so you and your team have the resources you need and are prepared to install Hardie® products safely, correctly and efficiently.
Explore our curated playlists of instructional videos on installing Hardie® Siding and Trim for various applications, including grade, walls and rooflines.
Installing Hardie® Products at Grade
This playlist acts as a guide for understanding different installation assessment standards, from resolving grade clearance issues to installing H-flashing on hard surfaces, including decks.
Installing Hardie® Products on Walls
This playlist covers everything from installing Hardie® products around exterior windows and at intersections with brick sills and masonry, to installing joint flashing around blocked protrusions like spigots.
Installing Hardie® Products at Rooflines
The roofing installation playlist focuses on techniques for installing Hardie® products in combination with flashing, correct gutter placement, and procedures for installing a drip edge flashing before or after roof installation.
James Hardie is committed to providing contractors, builders, and installers with the resources they need to achieve their objectives while safely, effectively, and efficiently installing Hardie® products.
If you're a contractor, you can begin taking advantage of even more training, lead generation opportunities and rewards by joining the James Hardie™ ALLIANCE. Get started today at jameshardie.com/alliance.